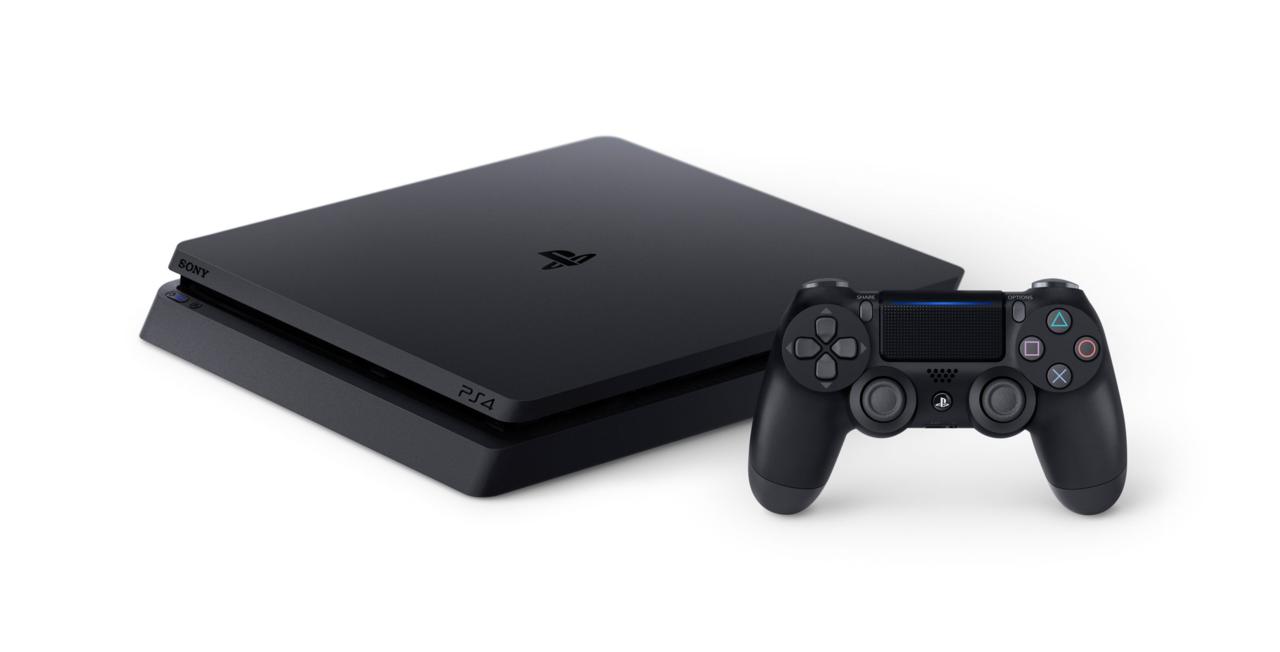
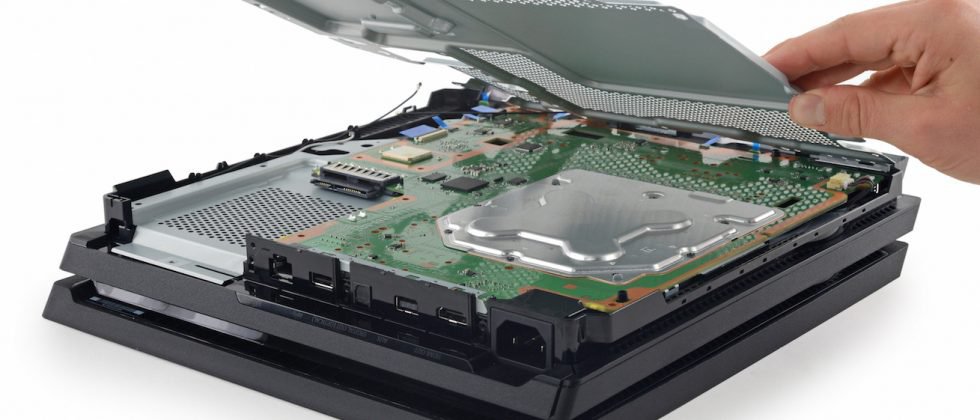
If you find yourself in a situation that you have to take your PS4 apart, then you will need to make sure that you have the right tools and that you know what it is that you are doing. There is also the knowledge that except for installing a new hard-drive or SSD memory, any further dismantling of your PS4 will void your warranty. If you are good with this, then the following article will walk you through the steps you will need to take to dismantle your PS4 slim, PS4 Pro and your PS4 controller to allow clean or perform any type of maintenance or repair on them. I have done this in the past to clean it and to replace a couple of components and it is quite honestly super easy and will save you a lot of time and money as opposed to taking it somewhere or sending it in for repairs.
Tools
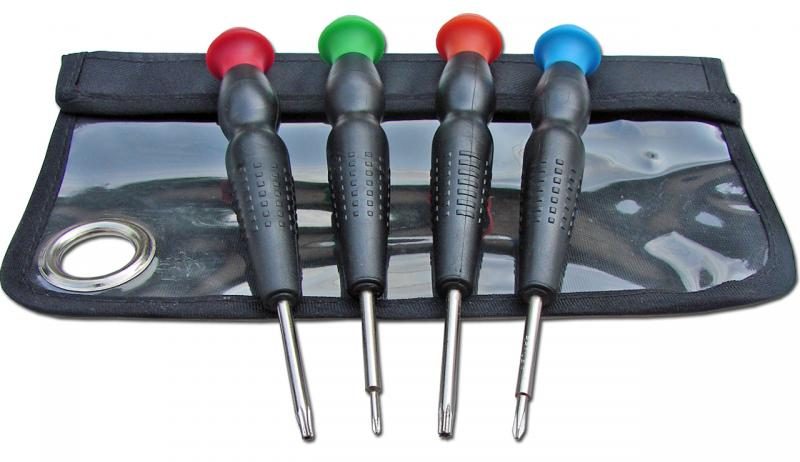
There are some basic tools that you will need to make sure that you have ready before you begin this process, also it is super advised that you are careful while doing this as you are dealing with a electrical item and the power supply will contain a charge for a short while so take that into consideration. You will need the following tools.
- TR9 Torx security Screwdriver
- Phillips #0 Screwdriver
- Phillips #1 Screwdriver
- Tweezers
Most of these tools you can buy at a hardware store or even a hobby shop and it not cost you that much. Again it is important that you take all precautions and also remember in your head how you took it apart so that you can put it back together in reverse. You would not believe how many people I have had come to me with a pile of parts and ask me to put their console back together as it was easy to take it apart, but very difficult to reassemble if you forget how you did it. We will begin by talking you through the steps for taking apart your PS4 Slim.
How to Tear Down a PS4 Slim
 This is a fairly simple process if you know what you are doing and will not take that long to accomplish. Unplug the power from the console before you begin. This will reduce the chance of you getting shocked as well as help to begin the process of your power supply begin to discharge all the stored power and reduce you getting shocked by it as well.
- You will want to make sure and begin by taking the console and turning it over on its top, and position it to the point that you can have direct access to the ports. This is where you will find a screw that will have a sticker pertaining to your warranty. Take this sticker off and discard it Remove this sticker as it will not be that important in the long term.. Underneath the sticker you will find a security screw. This is here to deter you from being tempted to open your console up and do regular cleaning on it. Remove the screw with the special T8 screwdriver that you have as this will be the only way to remove the screw.
- Next you will want to make sure to remove the hard drive cover from the rear of the console. This will be next to the screw that you just removed. After this has been removed, you will see a screw that is responsible for holding the consoles hard drive, remove this and the drive should pop out.
- This stage is where you will be prepared to slide the cover off, this can be done with the system laying face down and sliding the case off from the back.
- You will see the inner workings of the system, but you still will have a couple more panels that will need to be removed in order for you to fully gain access to the system. One of these is the top cover that will be fairly easy for you to remove.
- Now is where you need to be careful as the the cover over the supply of power for the system will have a few more of these T8 screws. Be careful to not touch this with your screwdriver otherwise you will have a very shocking experience. (Take it from someone that made that mistake once.) after you have removed the T8 screws, you can then use your Phillips screwdriver and remove the remaining screws.
- There is one last Phillips screw that you need to remove before this will come free. Once you have removed this screw, the unit will easily pop out as long as you use the right tool to disconnect the wires as well as the units adapter for WiFi that is in the same area. Once that has been accomplished, you are able to free everything from the case.
- Now comes removing the brains of the operation, the motherboard. This is a very delicate process as screwing this up can leave your system being nothing more than a paperweight. Once you have removed all of the screens and other screws that hold this in place, you will once again want to use your pliers to remove these cables. Once they are all loose and free from the case, your motherboard will be freed from its position and be allowed to be removed.
- Finally removing the screws from the plate under the motherboard as well as the few in the rear part of the system will generally allow the plate to come out and allow you access to the cooling system of the console. Many people will take it this far as they want to make sure that their fan is as clean as possible to ensure that the system runs at its best.
This point you can proceed to take things like the drive that holds the disc in place out, but unless you have a disc that is stuck, it would be a waste of time and trouble. The next section will talk about taking apart the PS4 Pro.
Taking Apart a PS4 Pro

You will want to make sure that you begin by taking off the cover for the hard disk on the back of the system. This can easily be done by removing a single screw that will require your Phillips screwdriver and one screw. Once this has been removed, you will need to remove a little bit more and then the hard disk will be free from inside of the console.
- At this point, you will need to make sure that you have removed the stickers. Once you have accomplished this, you will then need to make sure that you remove the security screws that you will find under these stickers.
- After all of these panels have been removed, you should be able to see the motherboard in plain view. Even though the back part will have a metal plate protecting it.
- You are now ready to flip the console on its top and remove the first panel you will see. There should be no stickers that you will have to contend with. This will allow you the chance to remove the power source and easily clean the the areas on the inside of the console. As long as you have not opened the other side, you will not have violated your warranty.
- Now that the power source is out of your way, you can easily flip the console over and begin the process of removing the cover that is over the motherboard. This will involve the removal of a few screws.
- At this point, you can remove the item that is responsible for securing the heat pipe. After doing this, you will notice this is where the fan as well as the optical drive are all located.As with any type of electrical device that you are taking apart, you will want to make sure that you keep up with all the screws that come out and where all the wires go when it comes time to reconnecting components of the PS4 back up.
Now that you have all the knowledge that you need to know in disassembling a PS4 you should have little to no trouble in cleaning it and keeping it in the best running shape. Also if you happen to need to replace anything, you can easily do this and save yourself the time and expense of sending it off and having to wait weeks to get your system back. You can easily replace a large number of these components with a basic set of tools and a little time and patience in the process. As mentioned before, it is always a good idea to make sure you are being careful and watching not to touch the power supply.
This is not part of the article, it is a place holder to keep the end of the article from being cut off. This is not part of the article, it is a placeholder to keep the end of the article from being cut off.
Originally from Great Falls Montana. Currently living in Memphis Tn, an avid motorcycle rider, gamer. I love everything that is PS4 related and have taken part in a number of gaming tournaments including an annual Madden tournament.

