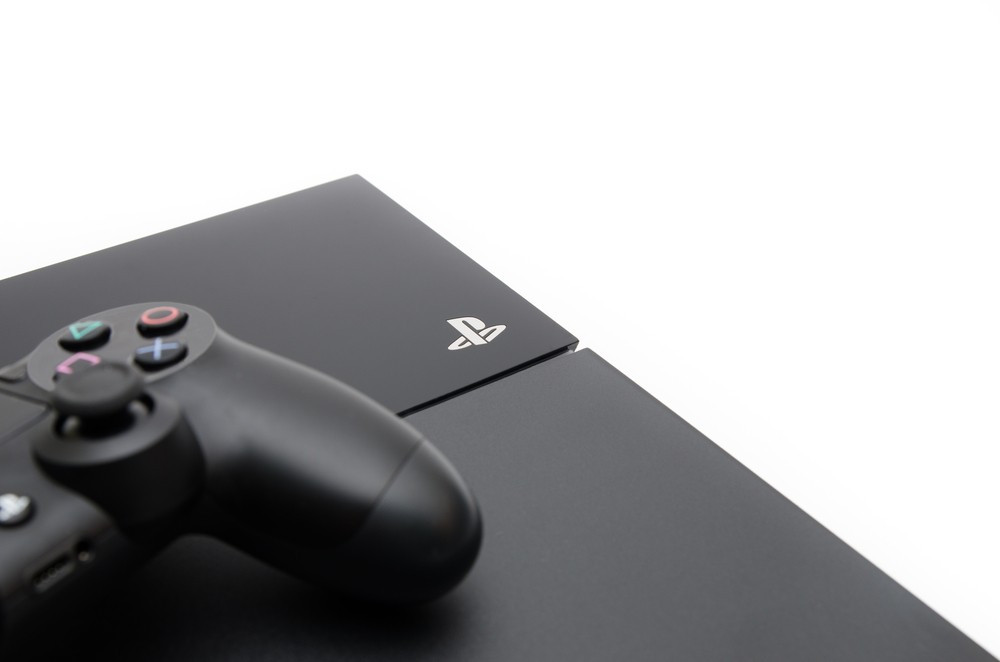
Whether you’re in possession of a base PS4 model, the newer slimline edition, or the monster Pro, we can all agree on one thing: Sony’s beast is damn good-looking. Sleek black lines, angular design and a minimalist aesthetic all combine to create something that just looks great sitting underneath your TV. With that in mind, you’ll want to make sure it’s spotless at all times. Here’s our handy step-by-step guide on how to keep your PS4 looking great without damaging any of its internals (or externals).
Before you start to do this, here’s what you’ll need:
- Two screwdrivers – TR9 Torx and Phillips head
- Compressed air can
- Some kind of thin, sharp object
- DIY tools like flashlights and tape
Switch off and unplug the console
The first thing you need to do before you start cleaning is to ensure the console is switched off. That’s completely switched off, mind you – not in rest mode or idling. To do this, simply press and hold the PlayStation button while the console is switched on and select “Turn Off PS4” from the Power menu. Don’t click “Enter Rest Mode”, because the console is still technically on in this state and you could irreparably damage your PS4 if you unplug it like this. Once you’ve done this, unplug the kettle cord from the back of the console, as well as the HDMI cable and any other cables you have connected.
Find a clean, safe place to work
Opening up your PS4 in an environment caked with dust and debris probably isn’t the best idea. You’ll also want to give yourself plenty of room so that you aren’t jostling for space while you’re working. Wherever this might be in your house, find it and set up your work area there. You’ll also want to set aside a good amount of time for the process of cleaning the PS4. If you find yourself without enough time then you might be tempted to rush, which could brick the console or leave it damaged in some way. After you’ve found the right place, turn your PS4 upside-down so the bottom is facing upwards.
Remove back stickers and unscrew screws
On the back of your console, you’ll find three stickers along the bottom in line with the power socket. Remove these stickers and you’ll see that they’re guarding three screws. If you’re using a newer slim PS4, you may only see one sticker and one screw here. Either way, gently remove the stickers while taking care not to damage the outer plate of your PS4. Once the stickers are off, use the Torx screwdriver to unscrew the screws you should now see. Make sure you put these screws in a place where you can easily access them later, because they’re quite small and could be fairly easy to lose.
Remove the back cover
The back cover of your PS4 shouldn’t put up too much resistance when you lift it up and remove it. If it does, something has gone wrong. There should be a little bit of resistance but nothing serious. Lightly pull up the bottom panel of the PS4 and it should come loose pretty much instantly. Be very gentle here; you are, after all, dismantling your console, so you don’t want to damage anything. Check the inside of this panel cover for dust and thoroughly clean it with compressed air and (optionally) a cotton ball. DO NOT wet anything with water, as without thorough drying this could damage the console later.
Remove the PSU
You should be able to see your console’s fan at this point, and it’s definitely a good idea to blast that with compressed air. Don’t do this yet, though. Instead, look just underneath the fan and you should see a panel held in place with 5 screws – 3 Torx screws and 2 Phillips head screws. Use your screwdrivers to gently unscrew these, taking special care over the Phillips head screws because they’re a bit more rigidly screwed in. Once this is done, you can remove the PSU (power supply unit). Don’t unplug it – just rest it next to the console while it’s still plugged in.
Thoroughly remove dust
Your PS4’s inner workings should be exposed now. Taking very close care not to damage anything, take your compressed air can and blast air into the console using the attachment nozzle (if you don’t have one, no worries – just use the can on its own). Make sure there’s no liquid in the tip as any residue of liquid could damage the console once it’s turned on. Check all the nooks and crannies of your console’s components for dust and make sure the compressed air can is getting to all the parts that could pose a problem. The fan and heat sink are the most crucial parts to clean.
Reassemble the PS4
Once this is all done, and you’re satisfied with how your console is looking, simply repeat all the above steps but in reverse. The console should fit together easily enough. Finish off your cleaning with a light dusting on and around the surface of the console and switch it on. If you want to rebuild the database to make sure your console is match-ready then you can do so, but the main body of the cleaning is complete.
There you go! That’s how to safely and comprehensively clean your console. Did we miss anything? Let us know!
This post didnt have a specific author and was published by PS4 Home.
