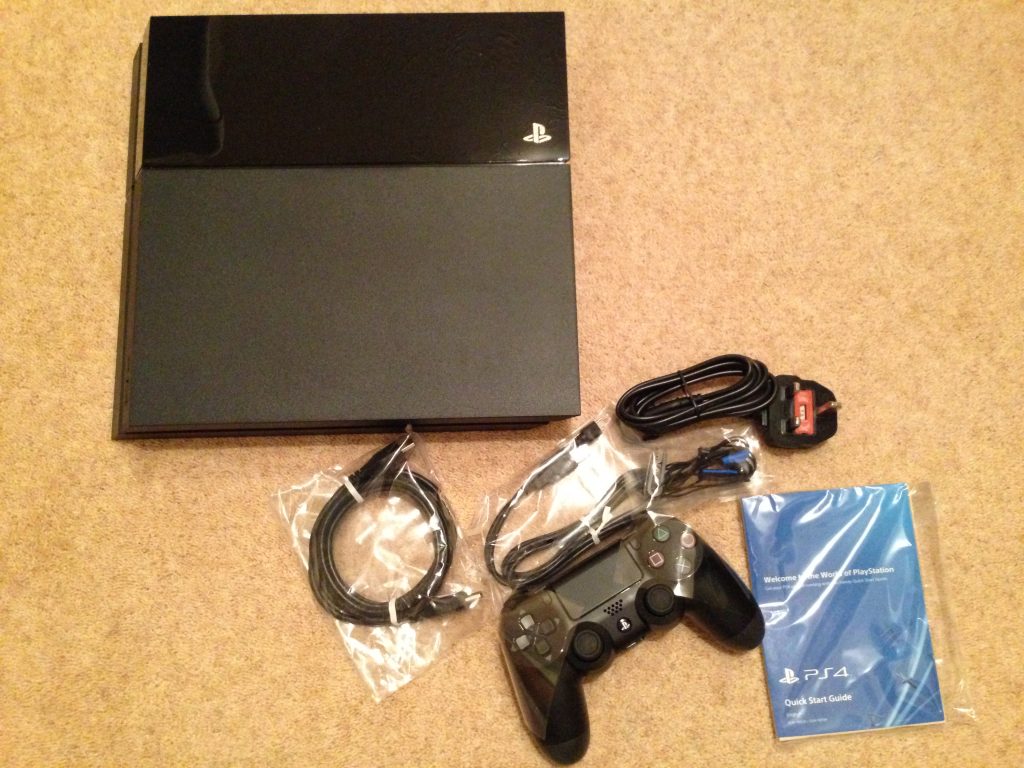
You’ve finally got your fresh new next-gen console sitting in your home, you’ve unpacked it, but now you’re riddled with a bunch of unfamiliar menus and options with no clear idea on how to proceed exactly. Don’t worry, we have you covered – here’s a simple how-to guide that will help you to get your PS4 set up (and customized) in no time at all…
First things first, you’re going to want to identify your PS4 console as being primary (within your household). To do this you only need to enter the settings menu and locate the 3rd option down on the list there “activate as your primary PS4”. Naturally, if you took the time to go through the initialization process this should have already been done automatically. The benefit here is that all content is unlocked for all subsequent users (primary console).
Next, you might want to consider adjusting the volume of your DualShock 4 controller. When you first turn on the console, it’s set to full volume, which will undoubtedly be too loud for most people’s needs. Conversely, you can also use the PS button option and send the audio to the output jack on the controller as well, which is ultra-handy for those who prefer headphones.
The power settings should also be adjusted as they determine when the console automatically shuts off after remaining inactive for a set length of time. The Standard setting is 20 mins, which might be ok if you’re a very green-minded individual. All others will definitely want to change that setting or risk being signed out of a gaming session unexpectedly. It should also be mentioned that you can adjust the standby settings from this sub menu as well, enabling additional remote play options in addition to using USB ports to charge things when you’re not around.
Following these basic adjustments, most people will want to head over to the video output settings section and experiment a bit. While the PS4 is set up to automatically configure these settings, it should be noted that better options might still be available, so try everything until you find what works best for you and your TV set. Also, don’t neglect your audio set up either – try to find the perfect EQ balance, for example.
Given that the PS4 is basically a high-powered gaming computer with great streaming capabilities, the next thing to do is fix your streaming speed settings. Inside the “manage account information” bullet point there is another menu which allows you to physically alter the actual speed at which information is transmitted. Needless to say, this can greatly help if you’re considering becoming a Twitch or U Stream user. From here you can also turn on and off your mic and camera functions, which is great if you’re paranoid or just want to tune out when you’re in an anti-social mood.
Assuming you have a camera attached, you can actually use your face to sign in to your PS4. Under the settings ‘login settings’ section you’ll find the option to engage the facial recognition management set up process which will get it all started. Afterwards, all you need to do to log in is step in front of the camera. Similarly, it’s also a good idea to establish the ability to give voice commands. Under system you’ll find the option to “operate PS4 with voice” which will allow you (for all intents and purposes) to control your console from a distance utilizing nothing more than your speech.
Lastly, if you’re worried about security you can set up a password, which will be a four-character code consisting of any of the 10 available buttons on the DualShock 4 controller (up, down, left, right, R1, R2, L1, L2, Triangle, Square).
Assuming you’ve done all of this, you’ve PS4 should be fully set up and ready to rock and roll. Happy gaming!
This post didnt have a specific author and was published by PS4 Home.


1 Comment
great tutorial! helped me 🙂