Connection issues are the worst, right? We’ve all been there, deep into an intense Overwatch game or Destiny raid, when suddenly character models start clipping and glitching, ping rates shoot up and your chances of grabbing that sweet loot disappear. Well, we’re here today to tell you about a better way.
Changing your PS4’s NAT type can be an easy, straightforward and surprisingly effective way to battle these connection blues. NAT stands for “Network Address Translation”, and without getting too technical, it’s essentially a way for your PS4 to communicate with host servers without constantly readdressing hosts.
Don’t worry if this is already too technical, cause we’re going to explain the method for changing NAT type step by step, and it might well fix your dodgy connection. This is a great setting to fiddle with if you’re having issues with connecting to PSN (a stuck store page, for example), frequently disconnecting during online games or just while browsing, or suffering high ping rates or lag.

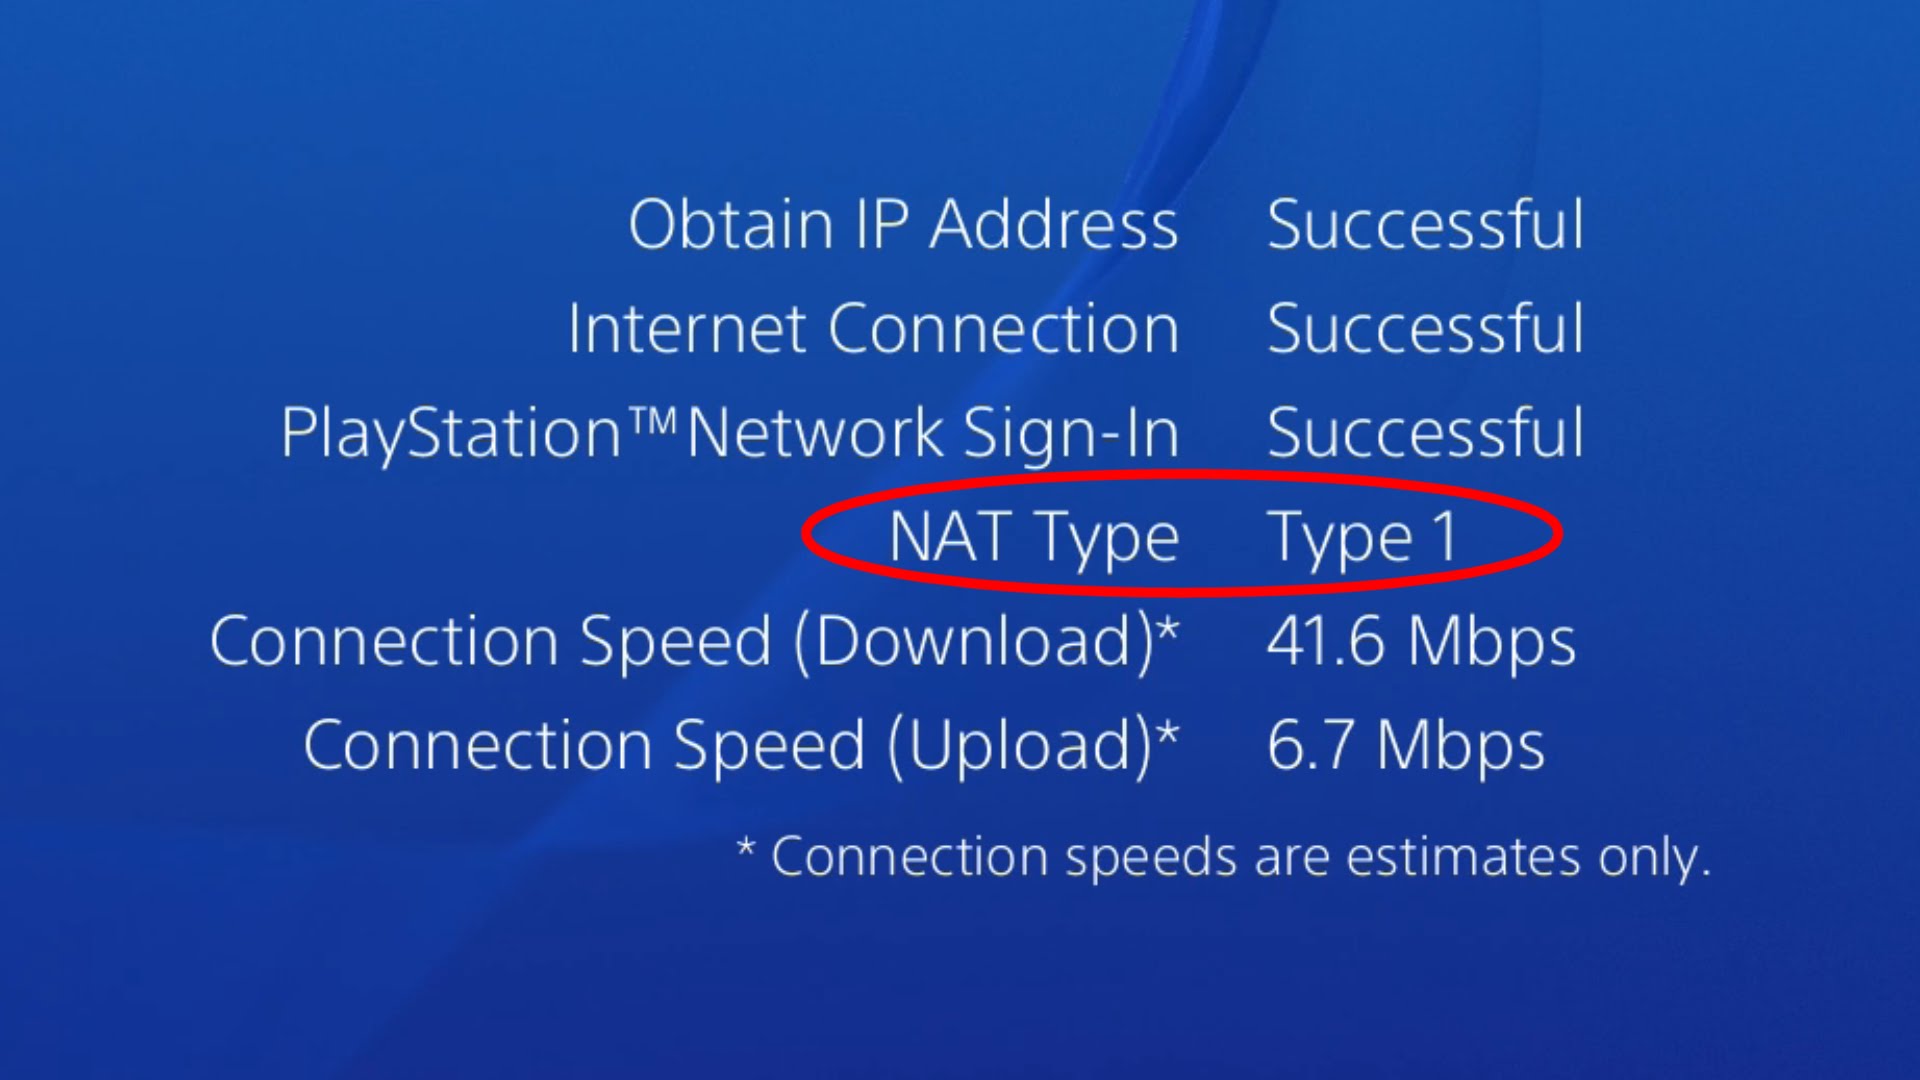
First, check your existing NAT type. You can do this by heading over to your PS4’s Settings page, then selecting Network, then View Connection Status. Your NAT type will be listed at the bottom of the page, and should be one of 3 types. If you don’t see one of these listed, you might need to seek help elsewhere, unfortunately. In 99.99% of all cases, though, you’ll see one of these:
- Open – your NAT is completely open. This means you probably won’t be experiencing many disconnects, but it also means your network type is vulnerable. If your connection is fine, it may actually be worth changing this to one of the other types.
- Moderate – the default setting, usually. Some traffic is prioritised, some doesn’t get through. This is how most PS4s and routers will probably communicate.
- Strict – if you’re experiencing a problem, this is probably why. As you might expect, “strict” is a hardline setting that will probably interfere with most household Internet connections on PS4.
From here, things get a little more technical. You’ll need to access your router’s admin page. This will change from router to router, and from provider to provider. The address is usually on the back of your router, and it’s probably something like “192.168.0.1”. As we said, though, it’s on your router (or in the manual), so check before proceeding.
After entering your router’s admin menu, look for the “Universal Plug’n’Play” setting (or UPnP). Again, where this is will vary from router to router. Switch this on (if it isn’t already on). There are two ways to proceed from here, but we’ll just look at the safest one today – we really don’t want anything to happen to your PS4.
What you need to do next is engage with a process called “Port Forwarding”. This effectively creates exceptions in your home firewall network for games consoles and other devices which access the Internet. You can find a really handy guide on how to do so for each major router manufacturer here. We can’t really help you with how exactly to Port Forward, because we’re not sure what router you have, but that link should help you out.
Once you’ve figured out the process, Sony has advised on which specific ports it thinks you should open in order to optimise connections. These ports are as follows:
TCP: 80, 443, 3478, 3479, 3480
UDP: 3478, 3479
Once this process is complete, reboot your PS4. A soft reboot should be fine, but if you don’t notice any change after simply restarting, then perform a hard reboot (press and hold the power button for several seconds). Check your Internet settings, and you should see that your NAT type has switched from Strict to Moderate. This should allow you to game online in peace.
Whew! A little technical, eh? Let us know how you get on, and if we missed anything!
This post didnt have a specific author and was published by PS4 Home.

