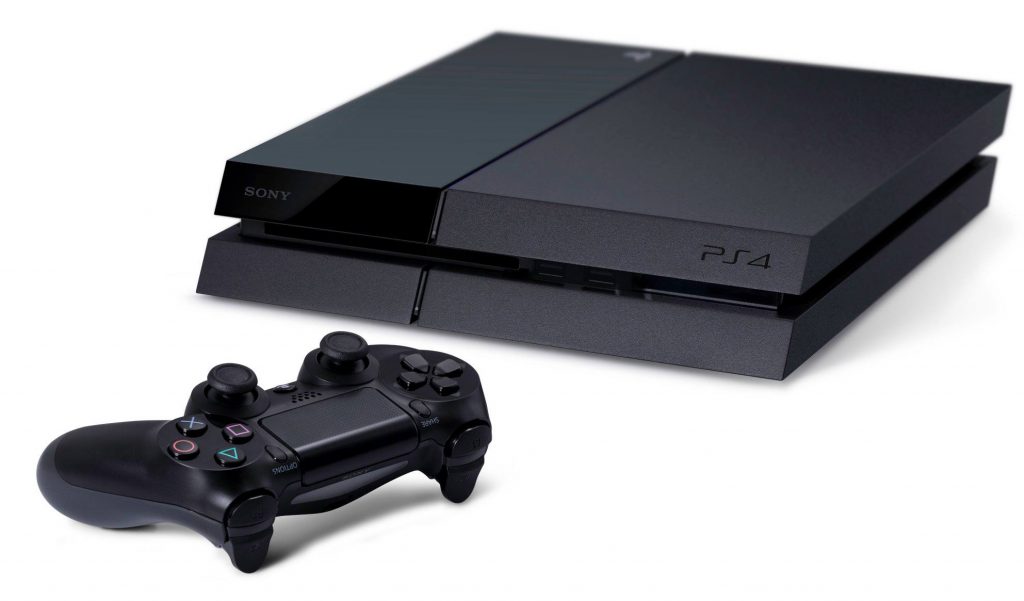
If you’re an avid gamer, you probably fill up hard drive space on your console pretty quickly. Maybe your PS4 is getting uncomfortably crammed, and you’re longing for more digital space to use. You may be wondering if your only option is to purchase a new 1 TB PlayStation 4 to give you that bonus space that you crave. Fortunately, there’s another choice—upgrading your PS4 hard drive. This is one upgrade that’s easy to do yourself.

Firstly, you should note that unfortunately, the PlayStation 4 doesn’t include support for an external hard drive. We know it’s frustrating. You can write an email to Sony expressing your heartfelt wish for external hard drive support; but until they make that wish a reality, you’ll have to go the DIY upgrade route.
-
DIY Hard Drive Upgrade for PS4: Part 1
The Supply List
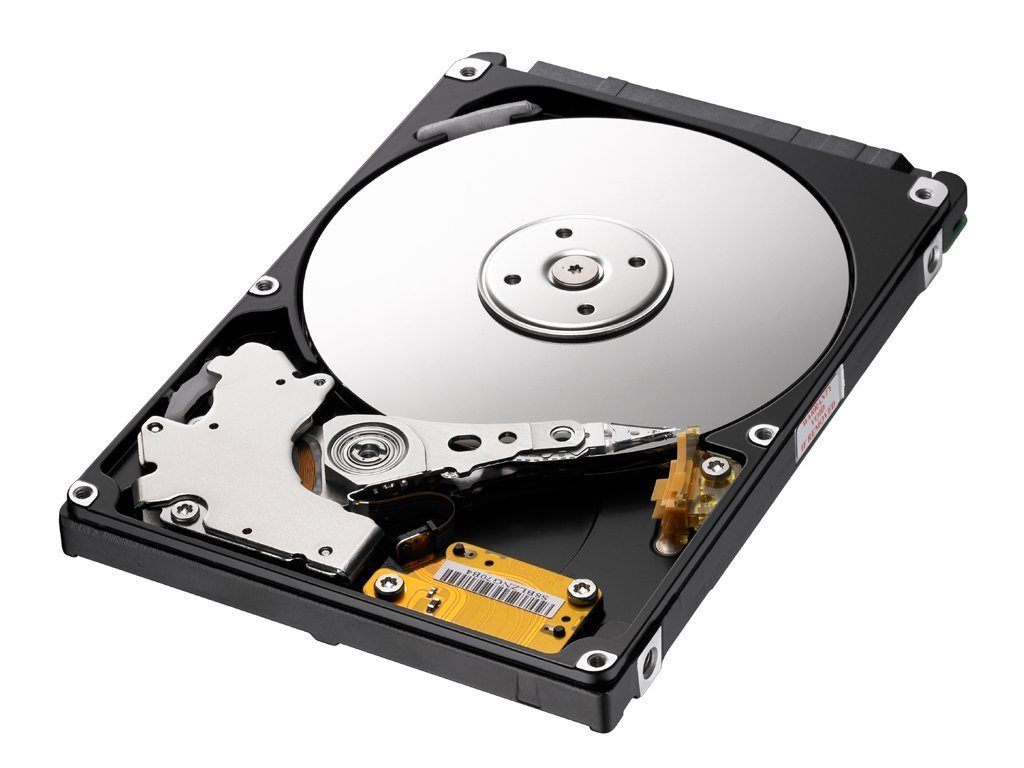
Here’s what you’ll need to make the hard drive swap. First, of course, you must have a hard drive that’s compatible with the PS4. It needs to be the right shape and size, with a thickness no greater than 9.5mm. The HDD that’s already in your PS4 is a 500GB 2.5-inch SATA HDD (if you have this edition), similar to a laptop hard drive. It’s easy to find a 1TB to fit the spot, but I strongly recommend getting a 2TB HDD, although this limits you down to a few options. A solid state drive would also work, but if you’re trying to save money, you may want to stick with an HDD.
Don’t want to mess about? Our advice is to get these:
- Samsung M9T 2TB 9.5mm SATA 2.5 inch Internal Hard Drive
- Silverhill Tools ATKPS4 Tool Kit or Phillips-head screwdriver
- SanDisk Cruzer Blade USB Flash Drive 64 GB USB 2.0
This is all you’ll need. Not only will the Samsung M9T give you loads more data, but it will load your games up quite a bit faster; awesome, right? So, now you’ve got those three items purchased (f you needed all three), it’s time to move on below.
Once you have the HDD in hand, grab a computer (if you have one), a USB drive with as much space as possible, and a Phillips-head screwdriver. Now you’re ready to begin.
The Backup Plan
Save all your game files. Before you start messing around with your PS4’s inner workings, you must back up anything that you want to keep. Once your new HDD goes in, you’ll need those backup files (game saves, etc.). If you have saved everything to the cloud, this part of the job is simple. Otherwise, you’ll need to go to Settings > Application Saved Data Management > Saved Data in System Storage > Copy to USB Storage Device. From there, you can move your files to your USB drive. Don’t forget to back up any cool screenshots that you want to save as well!
The Swap
Shut down your PS4 completely and unplug all wires and cables. Slip off the shiny section of the PS4 enclosure. Under this, you’ll see the metal grate holding in the HDD. Use your PlayStation toolkit, take off the big screw with the PlayStation button symbols etched on it. Once this screw is out, you can slide the hard drive out. It will be in a little tray attached by four black screws. Take these screws off and pull out the hard drive itself.
Replace the original HDD with your new one, making sure that it’s oriented the same way in the tray; then secure it with the four screws. Put the tray back in the PS4, tighten up that big screw with the controller symbols on it, and replace the shiny part of the casing.
As far as the physical replacement goes, you’re done—but you’ll still have to reinstall the PS4 system software. Read on.
-
DIY Hard Drive Upgrade for PS4: Part 2
If you’re interested in gaining more space for your games and files on your PS4, all you need to do is swap out the hard drive. In “DIY Hard Drive Upgrade for PS4: Part 1,” we explained the first steps of the process, such as getting the right HDD, backing up files, removing the original hard drive, and putting in the new one. Now that you’ve successfully switched out the old 500GB HDD with a brand-new, compatible 1TB or 2TB hard drive, it’s time to get your PS4 up and running again. To do that, you have to reinstall its software manually.
Prepping for Installation
For the first step, you’ll need a computer or a laptop, plus a USB drive that has 1GB or more of free space on it. In addition, the formatting of that drive needs to be FAT, FAT32, or exFAT. If you followed the steps in ” DIY Hard Drive Upgrade for PS4: Part 1″ and backed up your game files on a USB drive, you can use that same USB drive for this step, as long as there is enough room on it.
Making the Update Folder
Plug the USB drive into your laptop and make a folder called “PS4,” or use the one that already appears on the drive. Go into the folder and make a sub-folder labeled “UPDATE.” At the Sony PlayStation website, you can find the latest system software for PS4. Be sure to only obtain the software from a trusted source like the official PlayStation website. Download the software and put it in the “UPDATE” folder you just created.
Plugging in the PS4
Reconnect the PS4 cables and wires that you unplugged during the new hard drive install. Insert the USB drive with the system software on it. Then reconnect your DualShock 4 controller using the USB cable. You’ll need to boot up the PS4 in “Safe Mode” by pressing the power button for several seconds. When it beeps, let the button go and wait.
Reinstalling the System Software
When the PS4 powers up in “Safe Mode,” you’ll see a list of options. Pick #7, the one that includes the phrase “Reinstall System Software.” The instant you select that option, your PS4 takes over and pulls the system software and updates from your USB drive. You’ll go through the setup process, just as you did when you first received your PS4. Then you need to add your PlayStation Network account and input your login information.
The first time that you power down and reboot your PS4 after changing the Hard Drive, you might need to go through the setup process again. It’s a pain, but it’s well worth it to have a whole terabyte or two of space when you need it! Shut the console down complete, then reboot it to see if you need to do setup again. Once you go through it one more time, your PS4 should work smoothly, whether you shut it down or use Rest Mode.
Downloading Games and Apps
There’s just one more step, and then you’re done! You’ll see most of your apps and games in the “Recently Used” bar, where it’s easy to download them again. This part of the process does take some time, so grab a book or your smartphone to keep you occupied in the meantime. After you have downloaded everything that you want on your PS4, use the USB drive to restore your saved games.
Are you ready to try the DIY hard drive upgrade for your PS4? You’ll not only have more space, but game loading times will be a little quicker (if you go with the HDD we recommended or an SSD, too. Let us know how it goes and share your tips for upgrades in the comments!
My favourite gaming console is the PS4, of course, and in my spare time I love to write.

