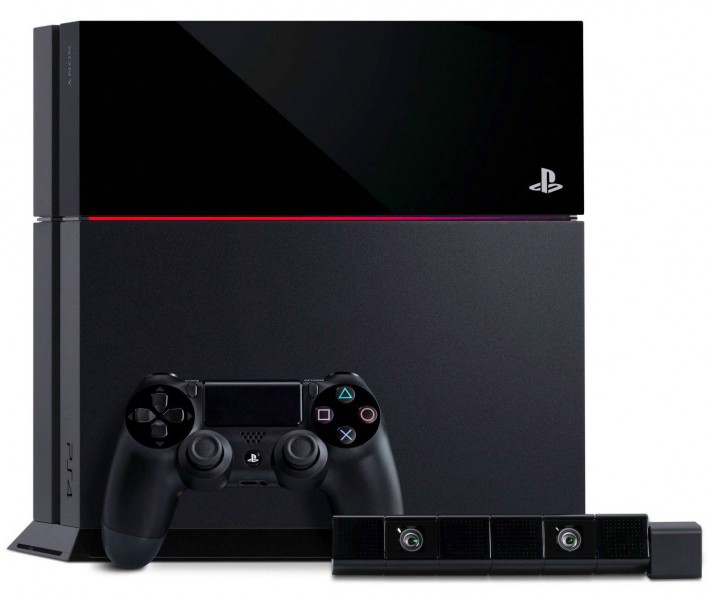
Errors aren’t fun. Nobody likes when things go wrong, but sometimes they just do, and there isn’t much anyone could have done to prevent it. Not even our beloved PS4 is immune to life’s little foibles and technical defects; if you’re unlucky enough to get a console from a bad manufacturing batch (it does happen, albeit incredibly rarely – the PS4 has an incredibly low failure rate at below 1%), your PS4 might be prone to a number of different faults and problems.
One of these is the harrowing Red Light of Death, or RLOD. Unlike RLOD’s closest cousin, the Blue Light of Death (BLOD), RLOD doesn’t sound like a bloodsucker out to drain the life force from your PS4. Also unlike BLOD, RLOD has a definite cause; where BLOD indicates “general hardware failure”, RLOD is specifically warning you that your PS4 is overheating internally.
Usually, extended gaming marathons don’t cause your console to overheat. Sony doesn’t recommend that you leave the console on for too long without powering it down for 15 minutes, and although that’s primarily for health reasons, it can also extend the lifespan of your precious console. Still, overheating will happen, and when it does, you’ll see that horrifying red light on your PS4. Here’s how you can overcome it.
Just like with BLOD, we strongly, strongly recommend that you take your console to a professional to get it fixed if you get RLOD. If you’re still in warranty with Sony, even better – contacting them to arrange an official repair should definitely be your first port of call. If all else fails, though, there is a way you can fix your PS4’s overheating problem yourself. Quick note: unlike BLOD, you will need to open up your console for sure to fix this problem, so make sure you’re following these steps carefully.

First things first, you need to make sure your PS4 is properly ventilated. Don’t place it on carpet if you can help it; try wood or a flat, solid surface instead. Change the orientation of the console (vertical to horizontal or vice versa), clear out its side vents and rear vents, and make sure the PS4 isn’t hemmed in by anything and has enough space to “breathe”.
If you’ve done all that and the PS4 still isn’t playing ball, you’ll need to get hardware-oriented, because we’re going to swap out your console’s thermal paste. Thermal paste is used in most electronics of this nature as a conduit between heat sinks and heat sources. Think of it as the glue that helps your PS4 keep cool.
You’ll need to purchase some good-quality thermal paste for this. Don’t scrimp; cheaping out might feel good at the time, but you won’t be doing your console any favours, unfortunately. Good-quality thermal paste is fairly easy to come by, and research should tell you the best brands to aim for. It’s universal, so you don’t need to worry about whether it’s specialised for PCs or anything. Before we start, you’ll need the following items:
- Torx T9 screwdriver
- Philips-head screwdrivers – a range of different sizes is best
- Pair of tweezers
- Thermal paste
Let’s get down to brass tacks. First off, open up the HDD cover of your PS4 and remove the hard drive. Next, you need to remove the screws which are hiding beneath the “warranty void if removed” stickers on the underside of your console. Place the PS4 on a flat surface upside down, and remove the bottom of the console. It should feel like opening a door or a window on a hinge. Along the back of the PS4, you’ll find the power supply unit. Unscrew and remove this.
Next, it’s time for the Blu-ray drive to be removed. You might want to ask someone to help you with this, as there are delicate ribbon cables nearby which need to be avoided. Once this step is completed, you can remove the piece of plastic atop the PS4, as well as the metal shielding beneath. Carefully (we can’t stress that enough) pry the console’s motherboard away from its housing, and you should see thermal paste residue beneath.
Clean off this paste residue with a soft microfibre-style cloth. You should see it around the console’s heatsink and CPU / GPU (graphics processing unit). Wipe both surfaces down. Make sure to use isopropyl alcohol here, as other substances may interfere with the console’s internals. Apply the new thermal paste in the areas where you cleaned off the old paste. Try to make this layer as thin as possible – a thickness of under 1mm is ideal. Anything more won’t look good, and might interfere with the way the console’s internals are laid out. Spread out the layer with a flat object.
Whew. After all this, it’s time to reassemble your console. Simply follow the above steps in reverse and you should be fine. There you go – your PS4 should be as slick and cool as it was when you first got it. If this doesn’t fix the problem, then you need to take your console to a professional to get it looked at, unfortunately. Hopefully it does, though. Happy DIY!
This post didnt have a specific author and was published by PS4 Home.
