If the 500GB internal hard drive space simply isn’t enough for your needs, and let’s face it, with some games weighing in at around 40GB each, who isn’t, then how do you go about improving on this? It need neither be expensive or complicated, you’ll be glad to hear – read on.
Prior to starting, decide which HDD you are going to purchase to replace the current PS4 one with. It must be no thicker than 9.5mm or it simply won’t fit into the hard drive enclosure of your PS4. Given these restrictions you may find it easier to find a 1TB hard drive, but it may be possible to find a suitable 2TB one. If you decide that 1TB is ample, then you can probably find one for around £70 or $100 which seems reasonable to me. I recommend this HDD if you’re planning to upgrade.
Once you have chosen the replacement drive you have to prepare your PS4 for the switch – well, you’d tell your wife if you were planning to replace her… Wouldn’t you? Back up your saved games files before you start to do any kind of, ahem, messing (for want of a better word) with the internal hard drive as you’ll be starting from scratch once you’ve inserted the replacement drive. If you’re a PlayStation Plus member you could upload your saved files to the cloud, wherever that might be, or you could simply save them onto a separate USB drive. Make sure you do this for any videos or screenshots you’ve saved if you want to keep them too.
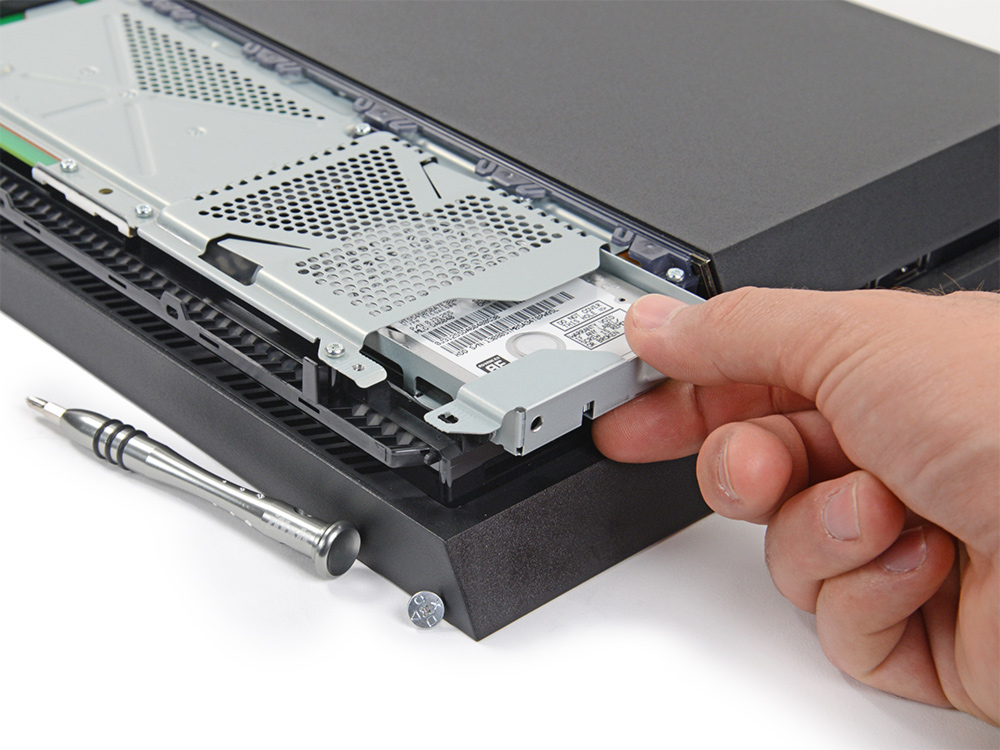
Once you’ve done that, you can now roll your sleeves up, get your tool box out, locate your screwdriver and make grunting noises. Make sure you’ve turned off your PS4 first though. Completely, not just gently nudge it into Rest Mode. Find the shiny bit of the PS4’s casing and slide it off, applying a little bitty force if needed. Having done that, you’ll be able to see the metal HDD enclosure (that word conjures up images of a rabid, mental drive which needs locking up for its own protection, but I digress). This enclosure is fixed by a screw so locate the right kind of screwdriver and, well, unscrew it, and then slide out the existing HDD and its wee metal surroundings. Grab your screwdriver again and remove the four black screws around the edges of the hard drive tray.
Once you’ve safely navigated those steps, it’s simply a case of putting the new drive into this tray and then reverse the steps above, making sure the right screws go back in the right places etc. S’ok, I won’t handhold you through this bit – I trust you.
Your final steps will involve reinstalling the PS4 system software and once that’s completed you can get on and reinstall everything else you want back on there. These final steps will take time so allow for that and don’t get frustrated, but do remember that once done you will have at least doubled your storage space so while the paperwork may have been complicated at the end of it you’ll have completed your upgrade from Fiat 500 to Qashqai +2.
MaryAnn Davison is an old school gamer who is a qualified Archivist and information manager. She loves to write in her spare time.

