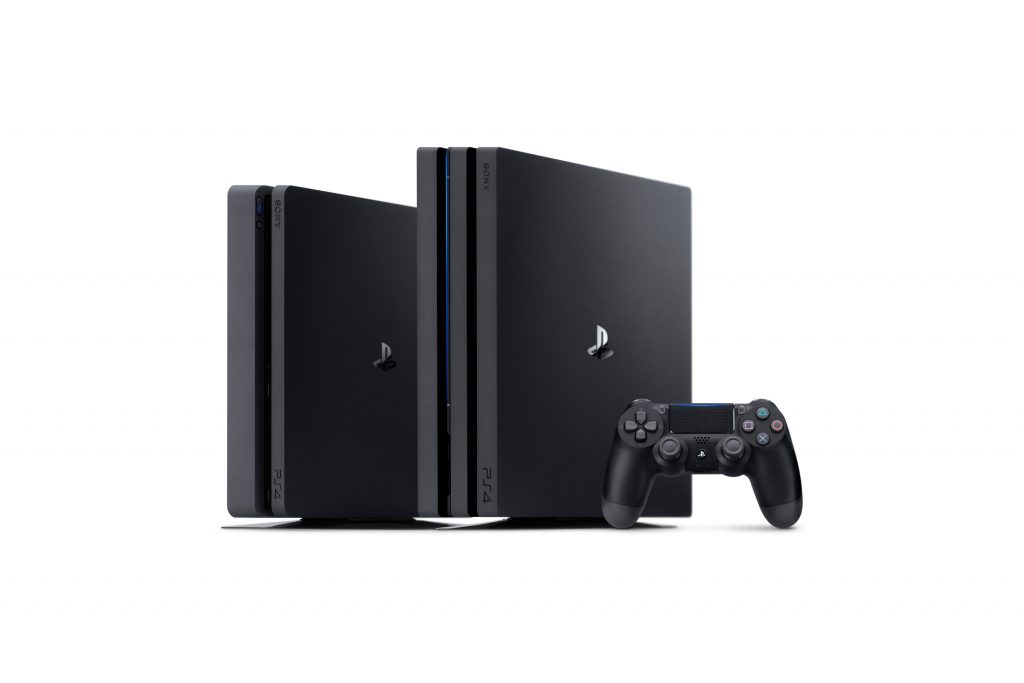
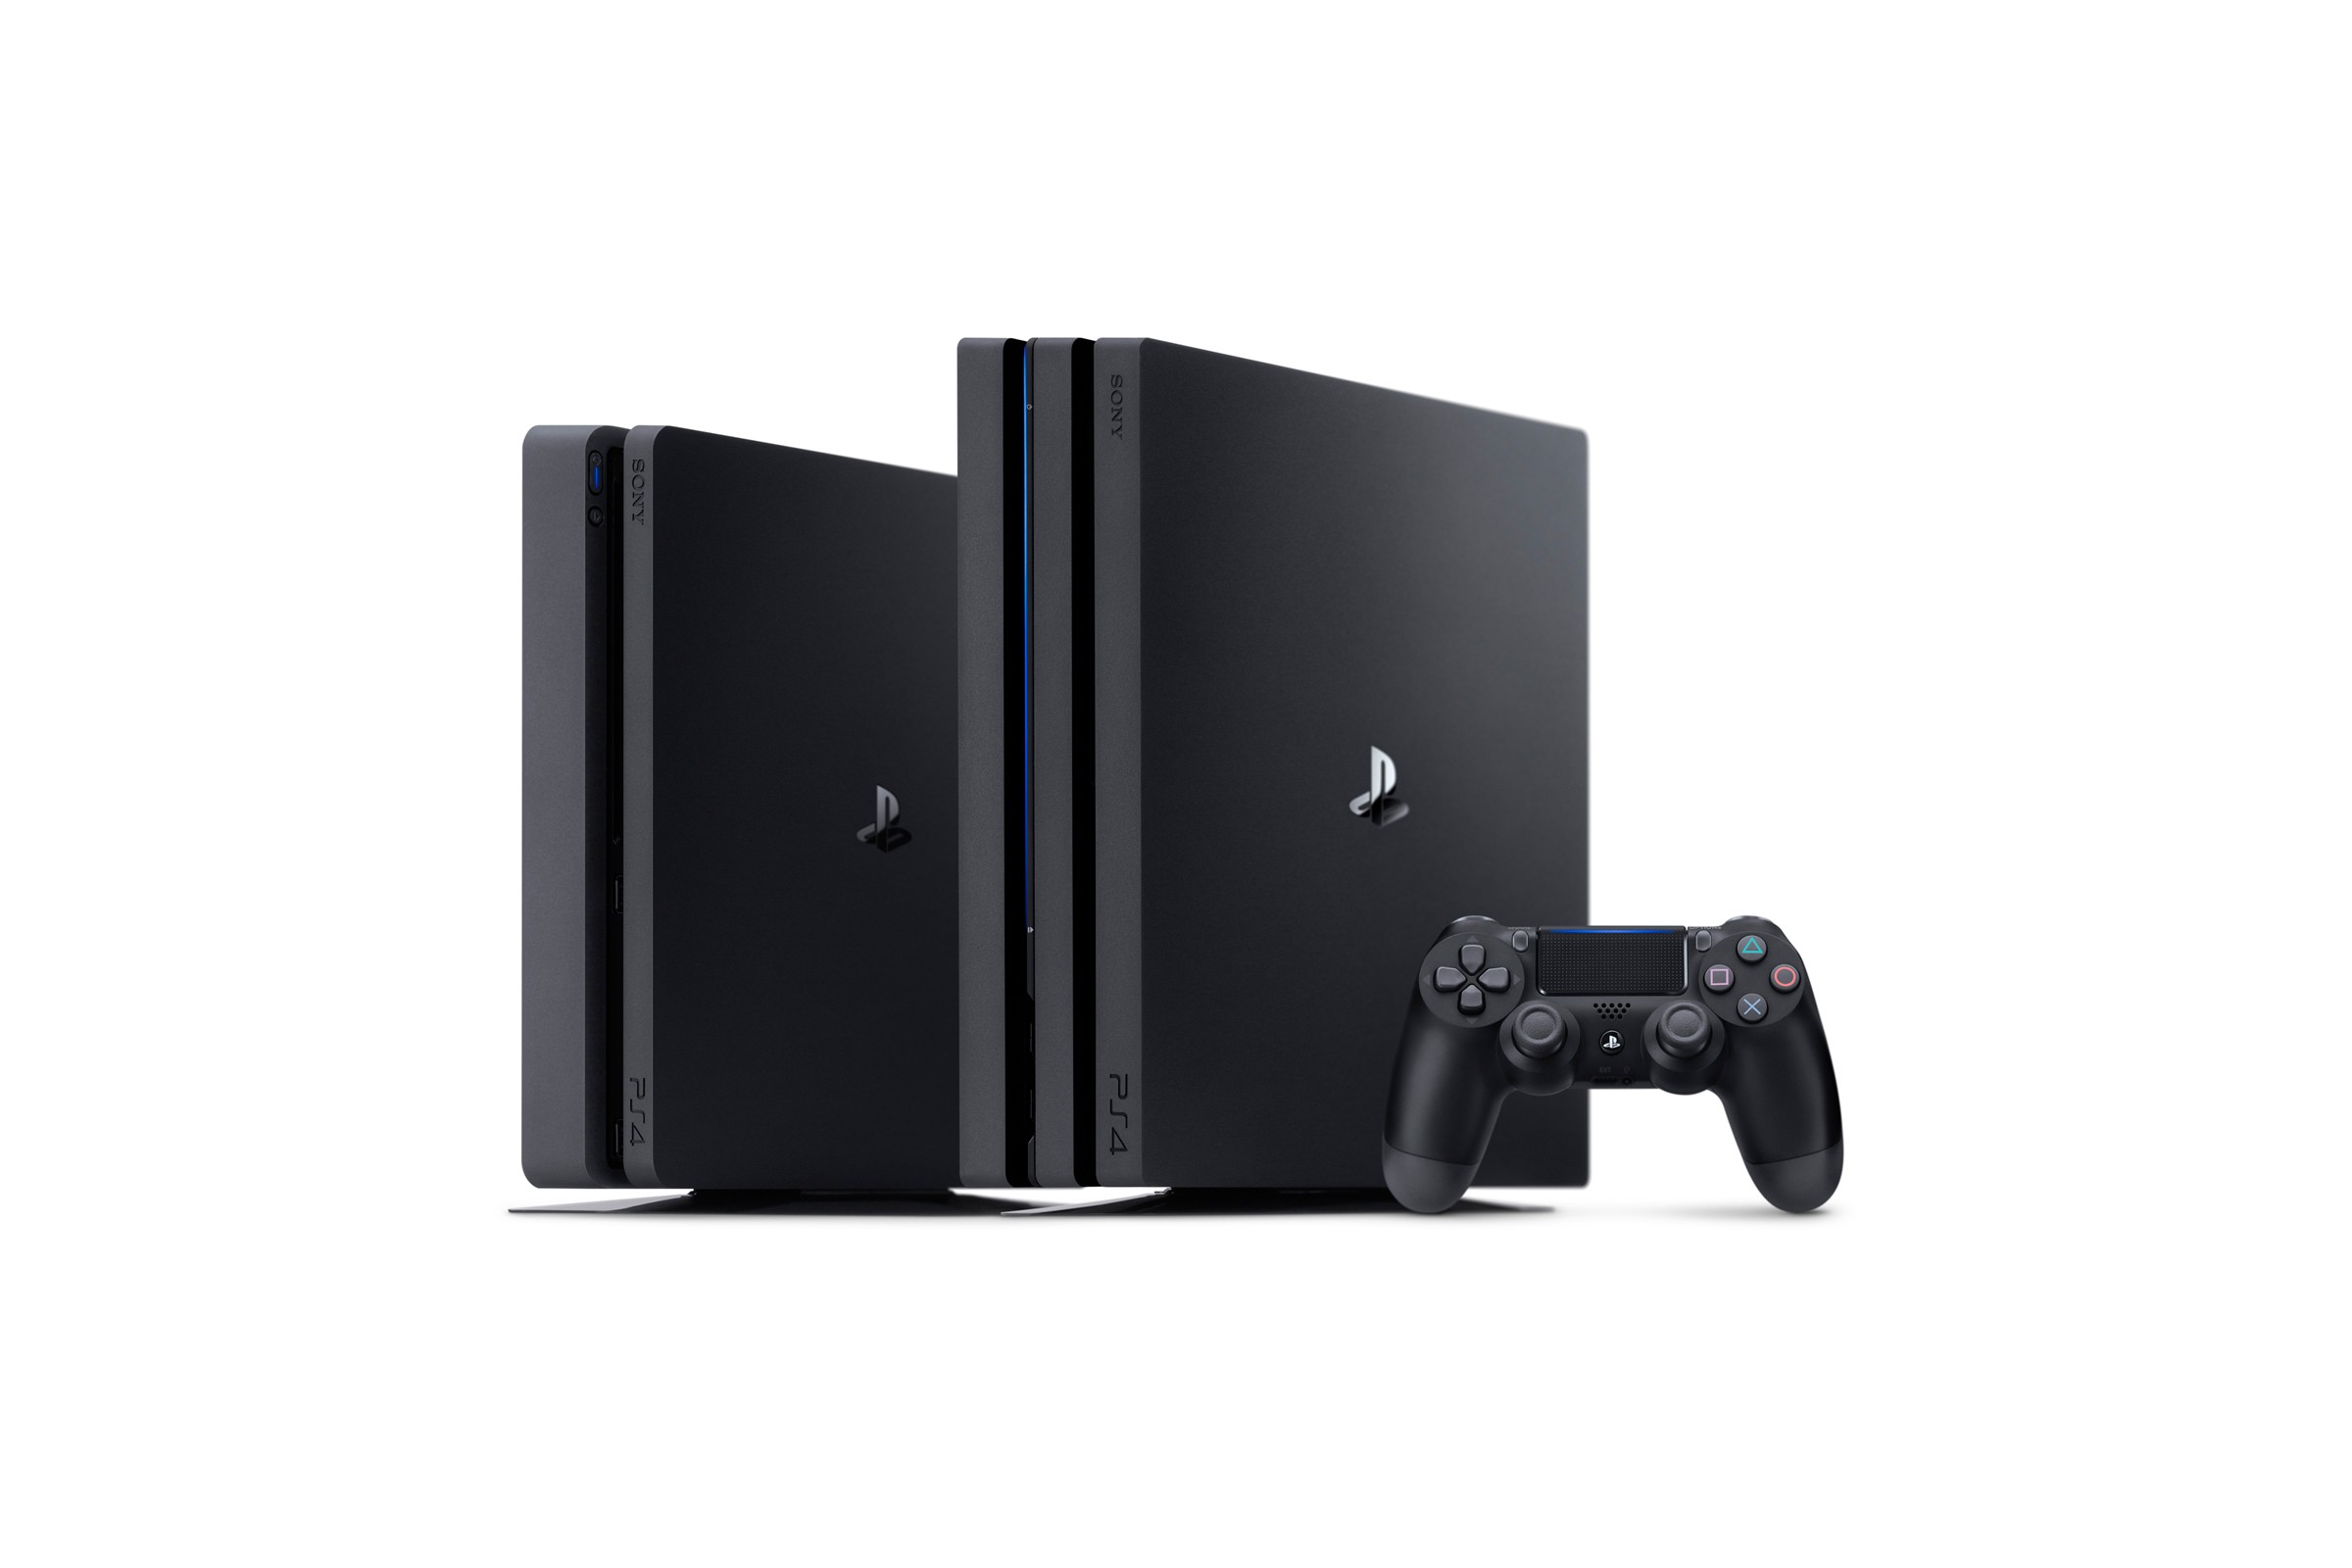
Are you adding a PS4 Pro to your current gaming arrangement? You’ll need a secure way to move all data, settings, and games to the PS4 Pro. Follow these steps to make it happen!
Step 1. Collect Supplies
You’ll need both of your consoles— your current PS4 and your PS4 Pro. They should both be plugged in and running. Grab a couple of LAN cables or purchase them at a local electronics shop. You’ll also need access to a broadband network.
Step 2. Hook Up the TV
Your new PS4 Pro needs to be connected to your TV so that you can sign in, check for updates, and process the transfer. The old PS4 does not need to be hooked up to a screen.
Step 3. Check the Software.
For each console, visit the “Settings” and scroll all the way down to “System Software Update.” Go ahead and do an update just to be sure that both consoles have the very latest software available. In most cases, this kind of update happens automatically behind the scenes; but you’ll need to double-check before you behind the transfer.
Step 4. Connect the Consoles to the Network
Once both consoles are powered on and fully updated, you need to make sure that they are linked to your home broadband network. Hook the units up to the ports on your router or use Wi-Fi to go online. Then, sign in to your account on the PlayStation Network using your regular PSN ID and password.
Step 5. Pack Up Your Data
Your PlayStation Network account will receive a signal that you’re signing in from a new console. A message will pop up, inquiring if you would like to transfer your data from your original console to the new unit. Click “Transfer Data from Another PS4.” Then press and hold down your old PS4’s power button. When you hear the beep, your data is ready to be moved, and you can let go.
Step 6. Link the Consoles Together
If you didn’t hook up your consoles to the router in your home, you can use a single LAN cable to link them together. Plug one end into the rear LAN port on the original PS4 console, and plug the other end into the rear LAN port on your new PS4 Pro.
Step 7. Select Transfer Options
Now your screen will show you some types of data that you can transfer. You’ll be able to customize the data exchange by selecting what you want to move to the new console. Click the check boxes beside data elements like applications, saved data, captures, setting, and themes. To the right, you’ll see a readout of how much room will be left on your PS4 Pro’s hard drive after the transfer. Below the checklist, you can see how much time the transfer will take. Click next when you’re ready to proceed.
Step 8. Activate the PS4 Pro
On the next screen, you’ll be asked if you want to make the new console your primary gaming console. Click “Yes” to activate the PS4 Pro as the primary console for all users. Your synced trophy data, folders, videos, screenshots, game data, messages, and profile data will all be moved to the new unit. Once the transfer is complete, you can begin enjoying your new console.
My favourite gaming console is the PS4, of course, and in my spare time I love to write.


